Proper Burning Technique
You would think burning a candle is a simple, self-explanatory process right? As it turns out, skipping a couple very important steps can render a candle unusable. Here are a few things I have learned to help you get the most out of your candles.
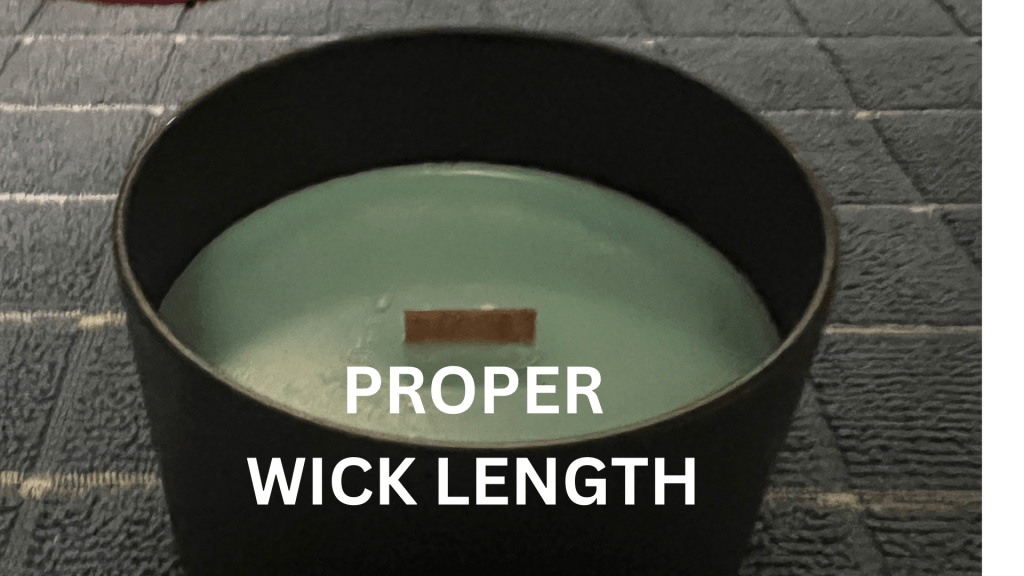
The very first thing is to ensure that before lighting your candle for the first time, that the wick is trimmed to the proper length. That is about ¼ inch for cotton wicks and between ⅛ and ¼ inch for wooden wicks. The temptation is naturally to have a lot of wick showing for a good flame. However, it’s the wax being drawn up through the wick that provides most of it.
It is very important, especially for the initial burn, to let the candle stay lit for several hours, long enough to create a pool of melted wax to the edges of the container. Otherwise, you will get what is called tunneling(see pictures below.) If you do wind up with tunneling, the melted wax pool will drown out the wick. Wood wicks can be a bit finicky at first and you may need to relight a few times. Just pay attention and make sure it has a good burn going before you move onto other things.

Stay on top of the wick trimming. Break or cut off the burnt ends to the previous mentioned lengths. You can use scissors, nail clippers, or even a big ol’ pair of end snips.
If you have had problems with any candles, mine included, I really hope this helps.
